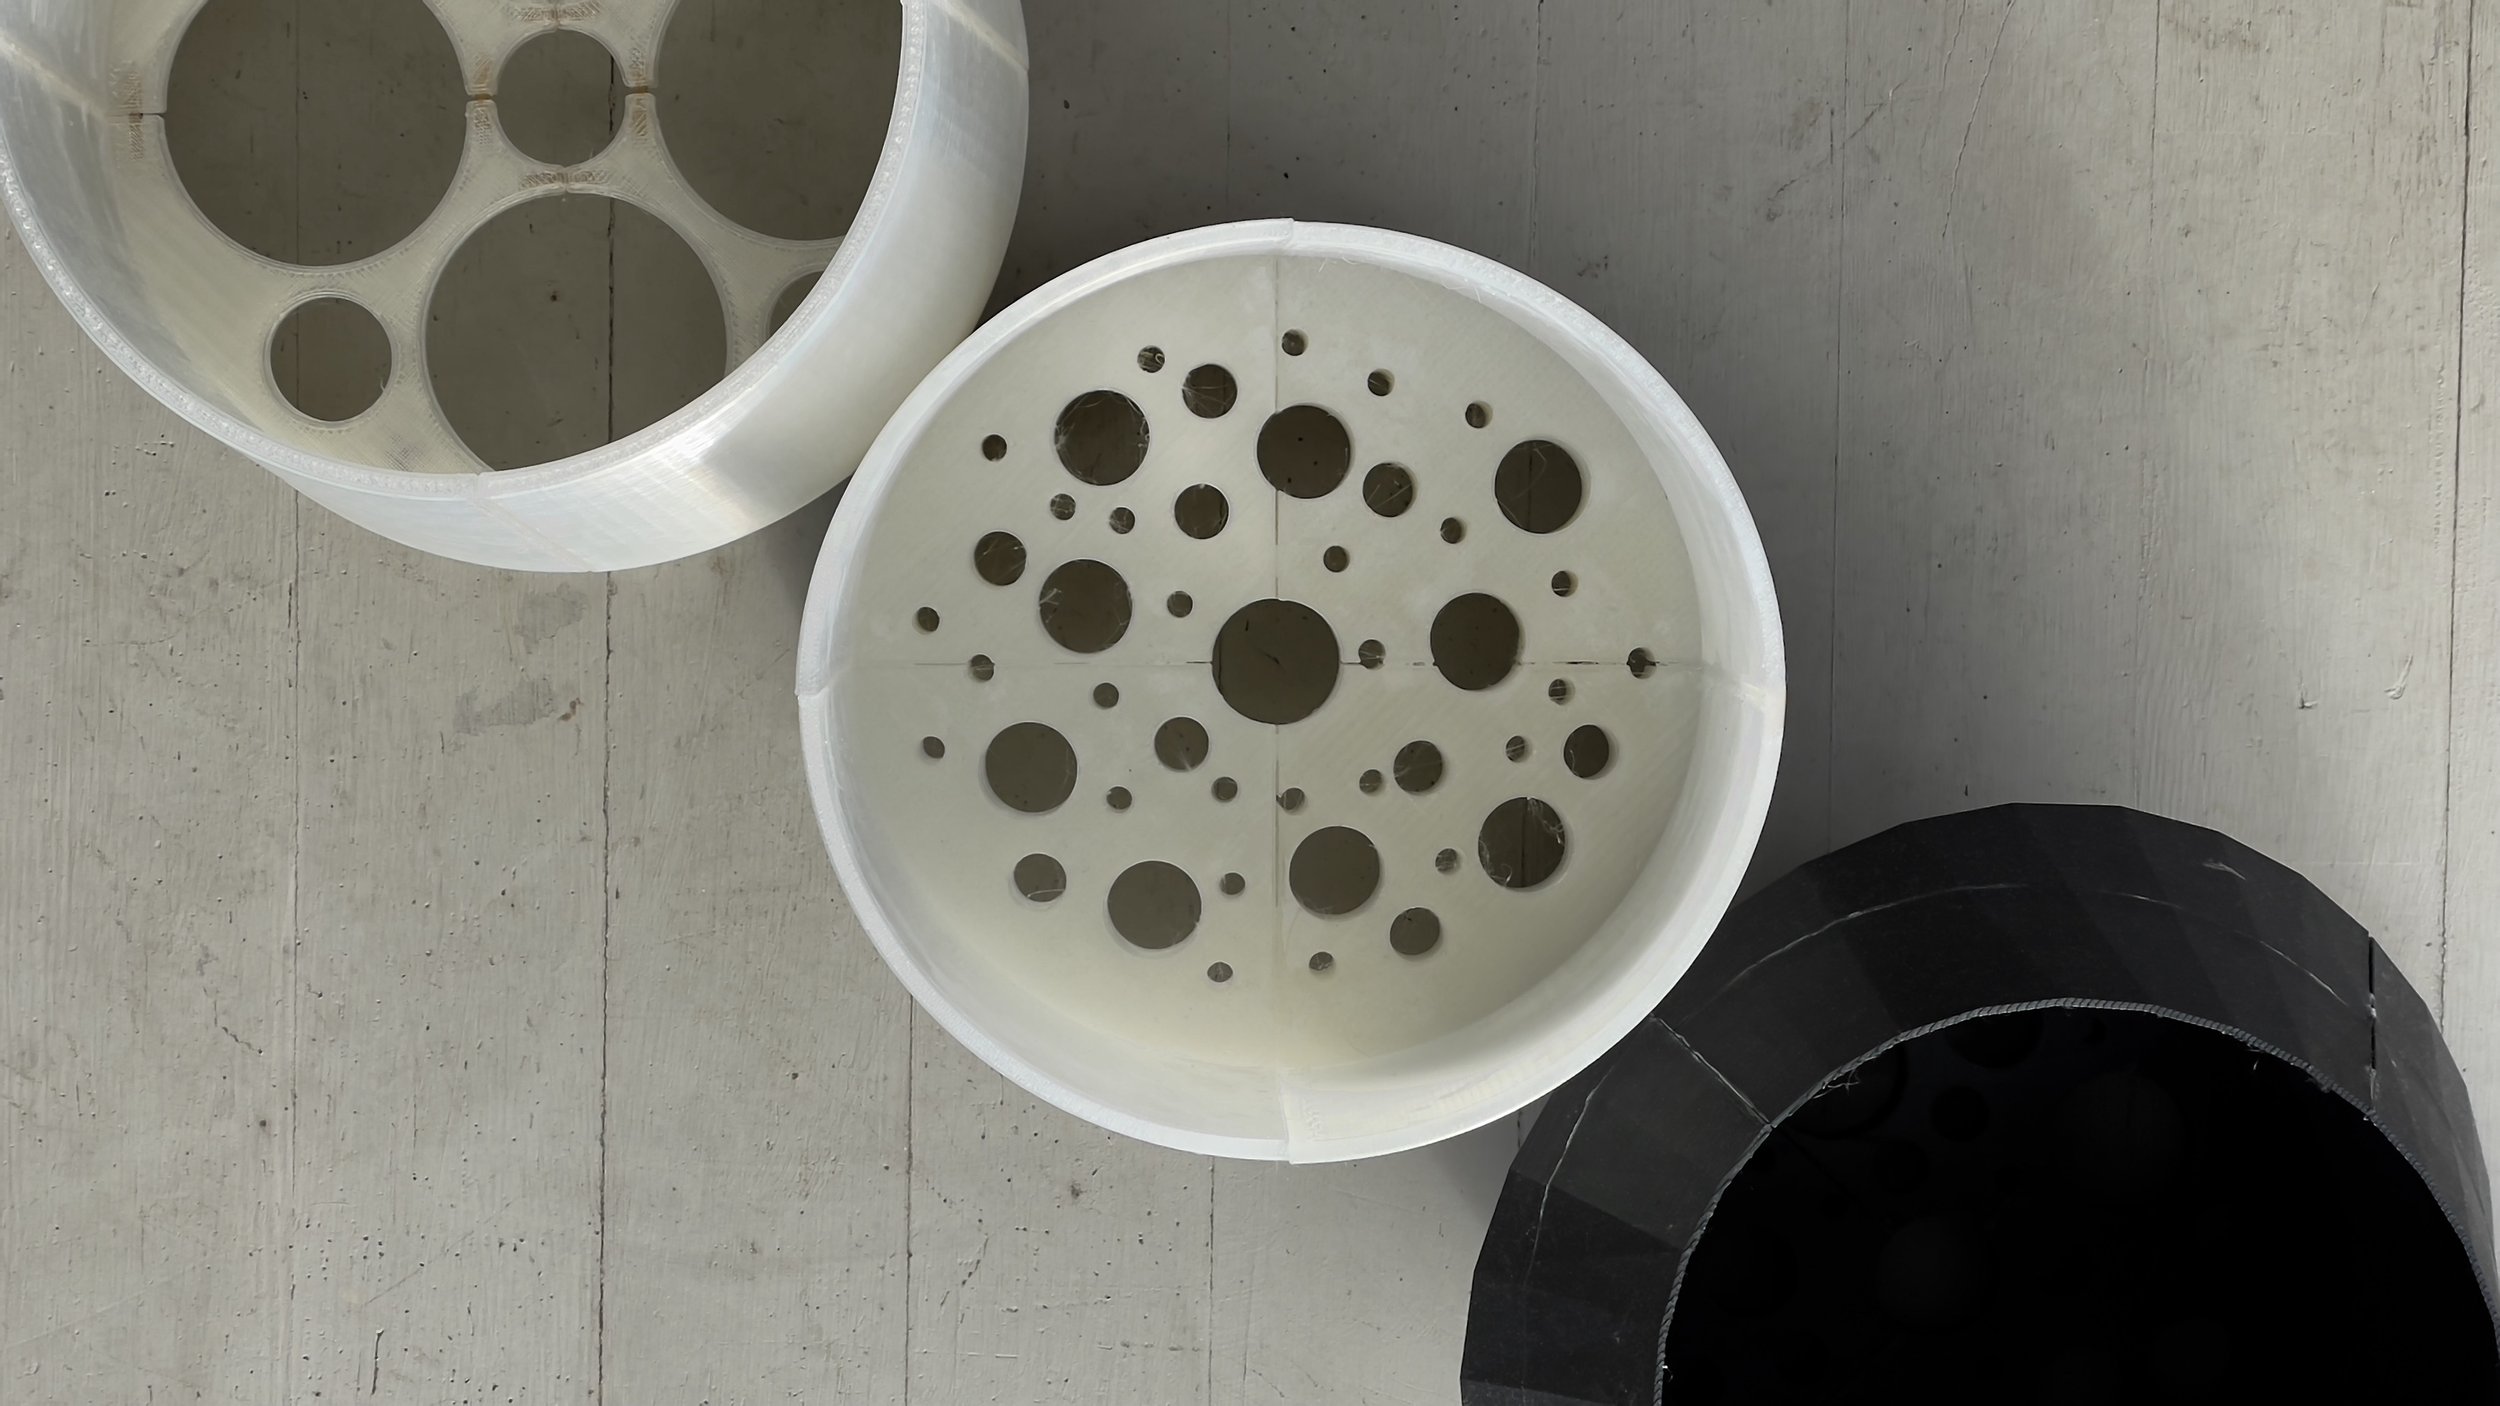
The Future of Lamp Shades
-
Everything from the design, the material, and disbursement of lights is able to be tailored to the individuals needs
-
With ease these models can be printed -in pieces if need be- and assembled. The model can also be broken up to optimize the printing and gluing
-
Unlike paper lamp shades, you can bump, tap, and scratch this lamp shade all you want. Being made out of plastic, it’s more structural than a typical lamp shade.
This project was created to allow me to explore the finer details of 3D printing. The idea is to test filaments, infills, nozzles, and settings. I’m combining all these to make a design that can be easily customized to the needs of the lamp.
The First Shade
-
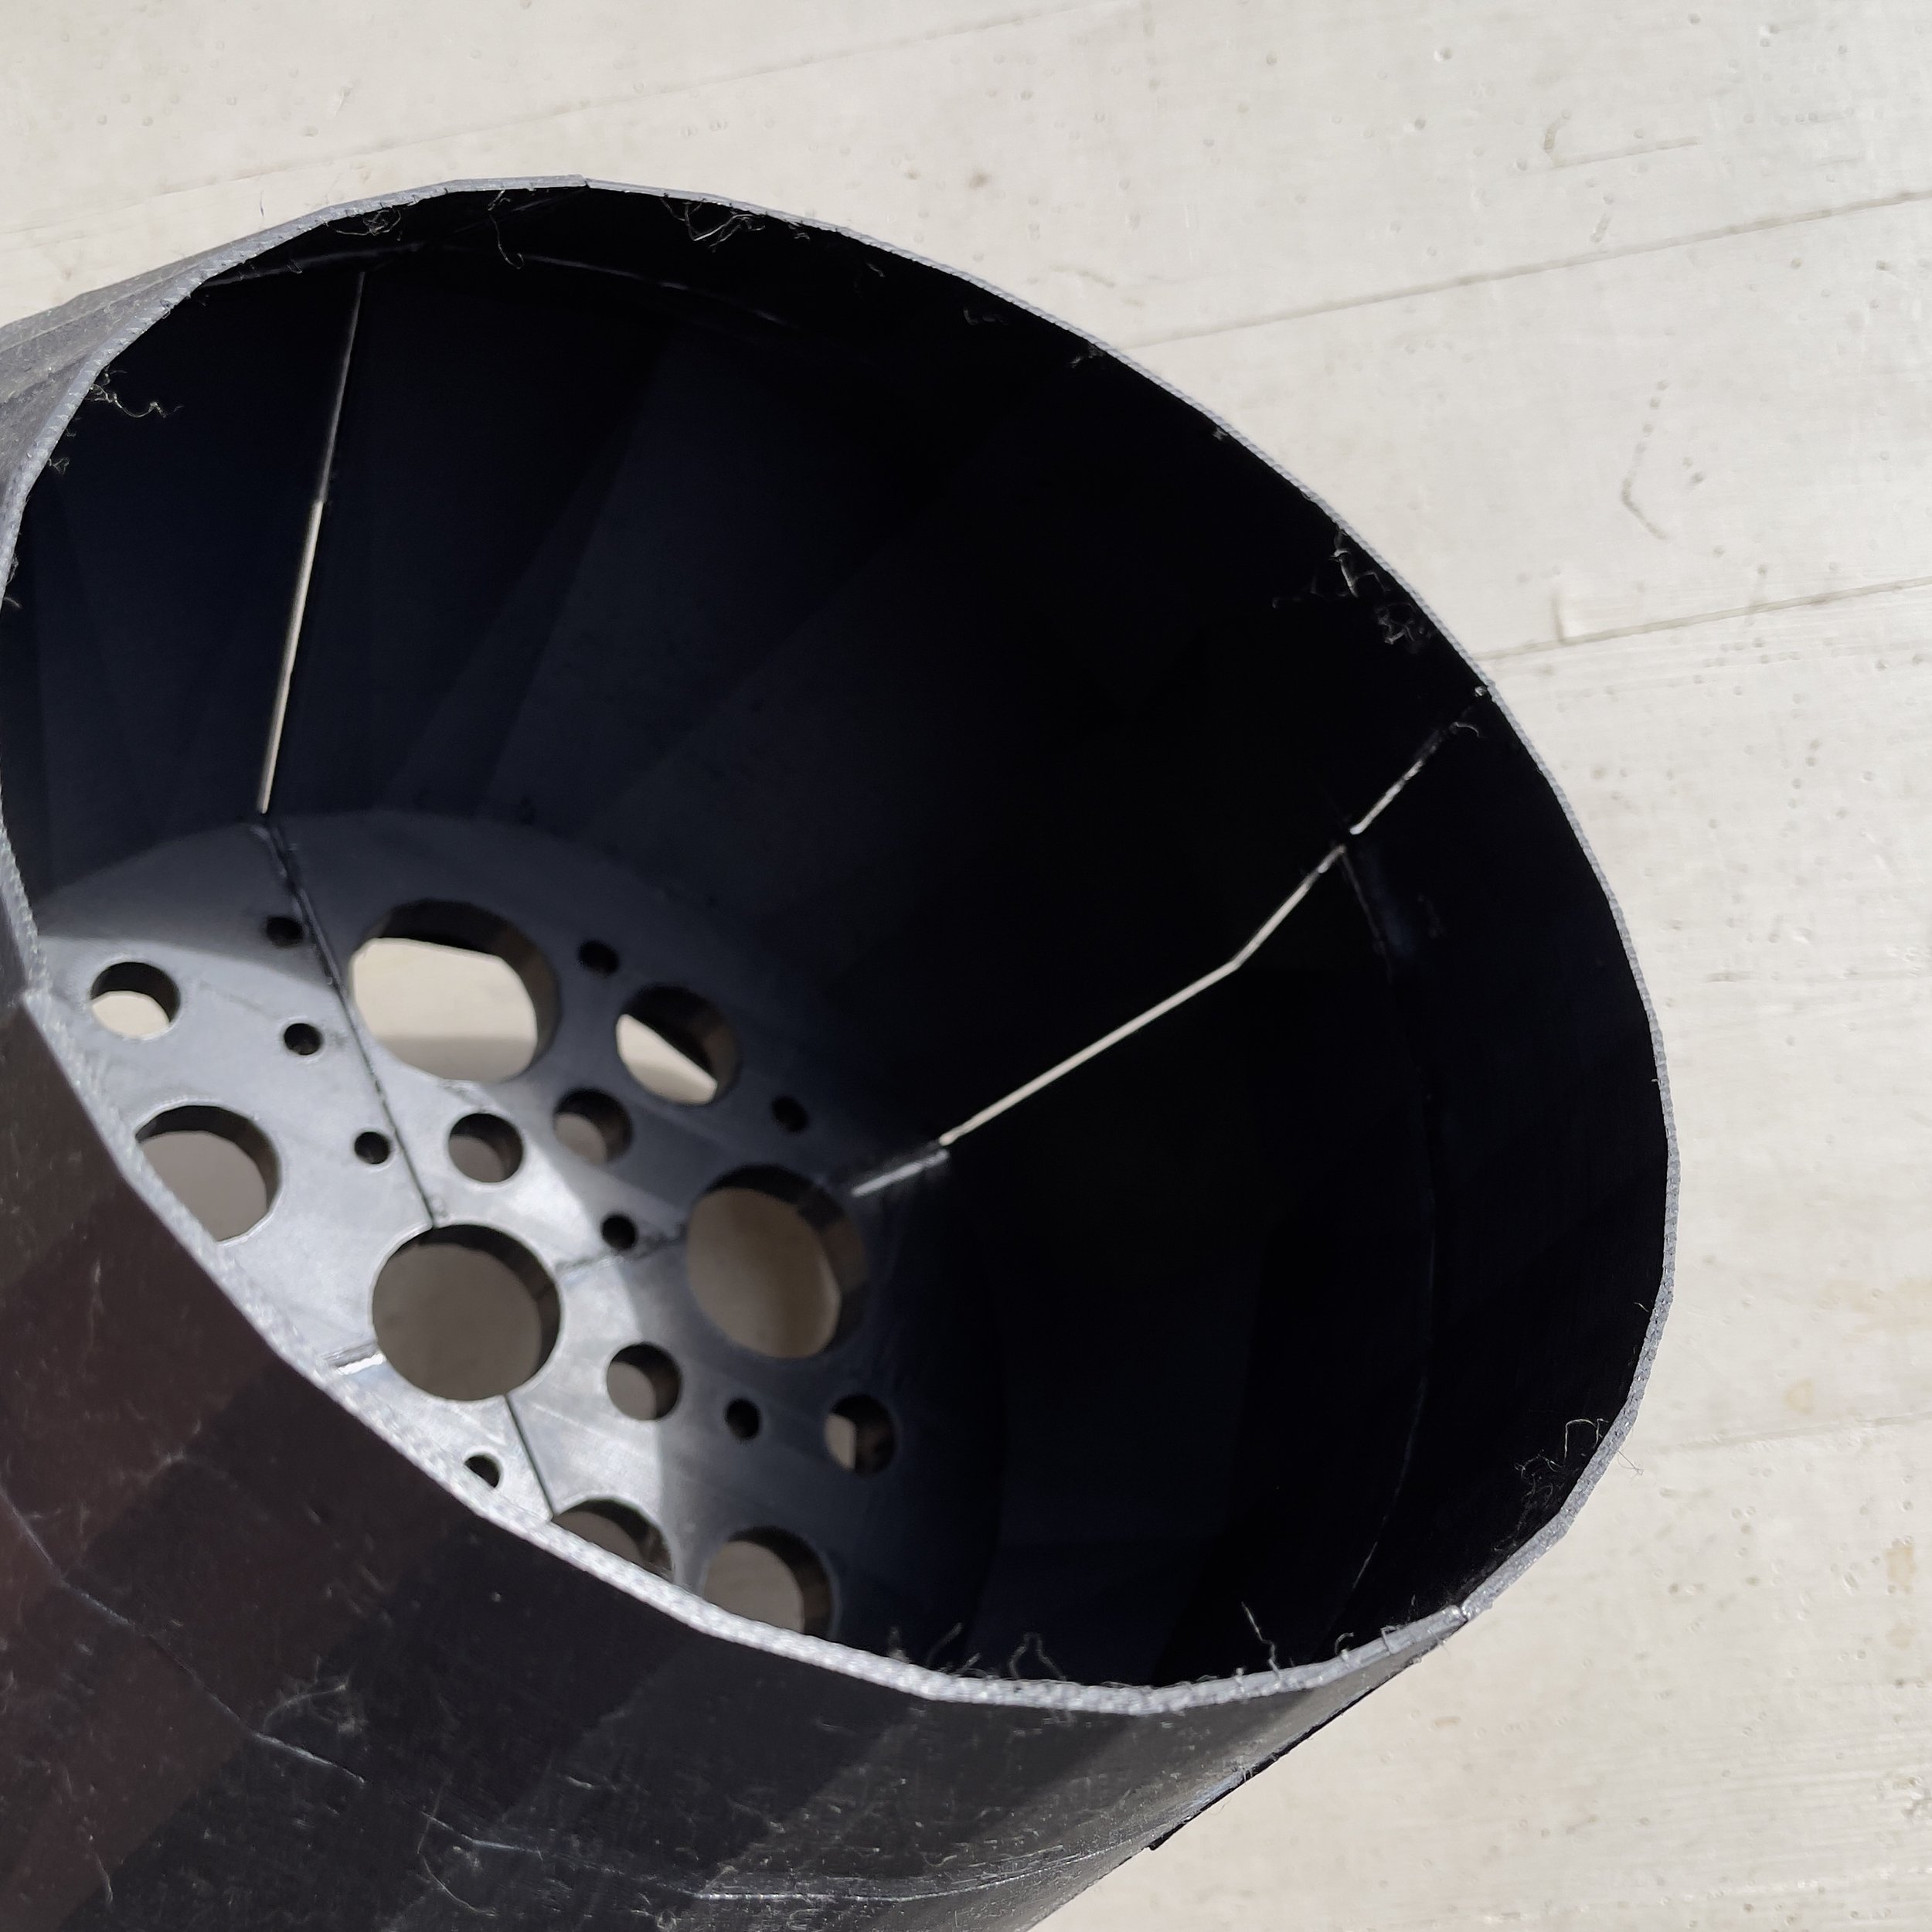
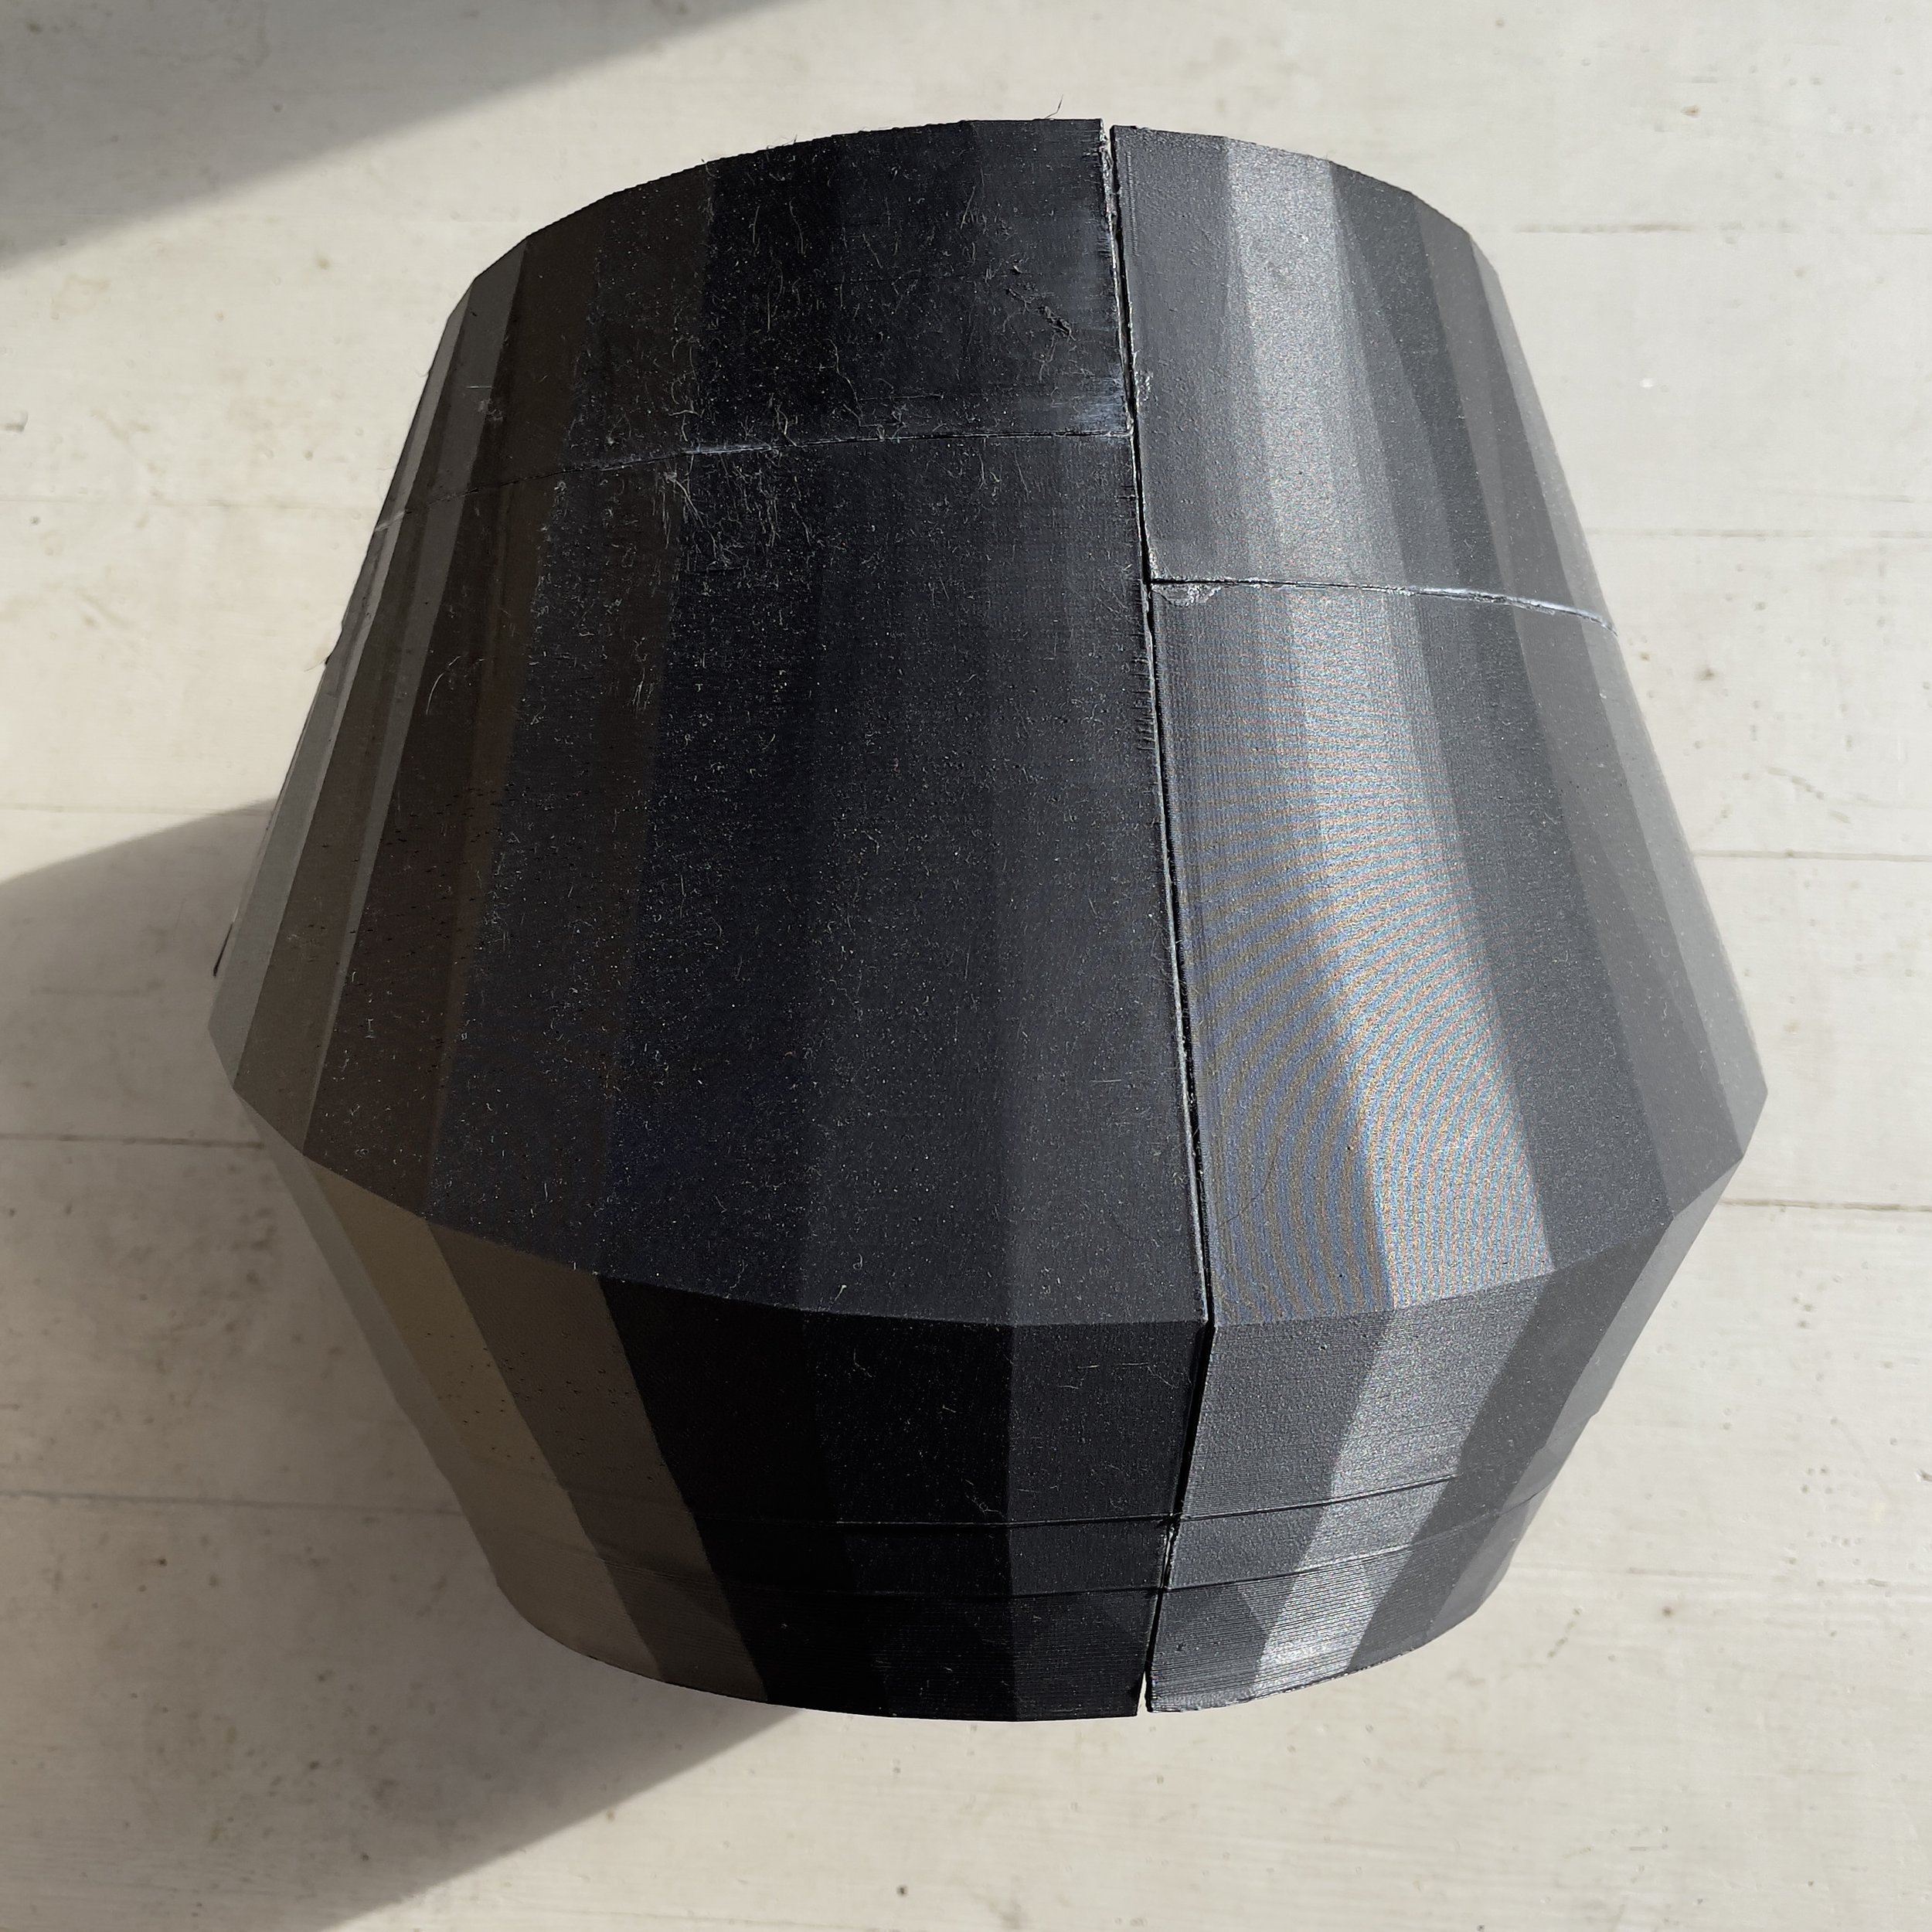
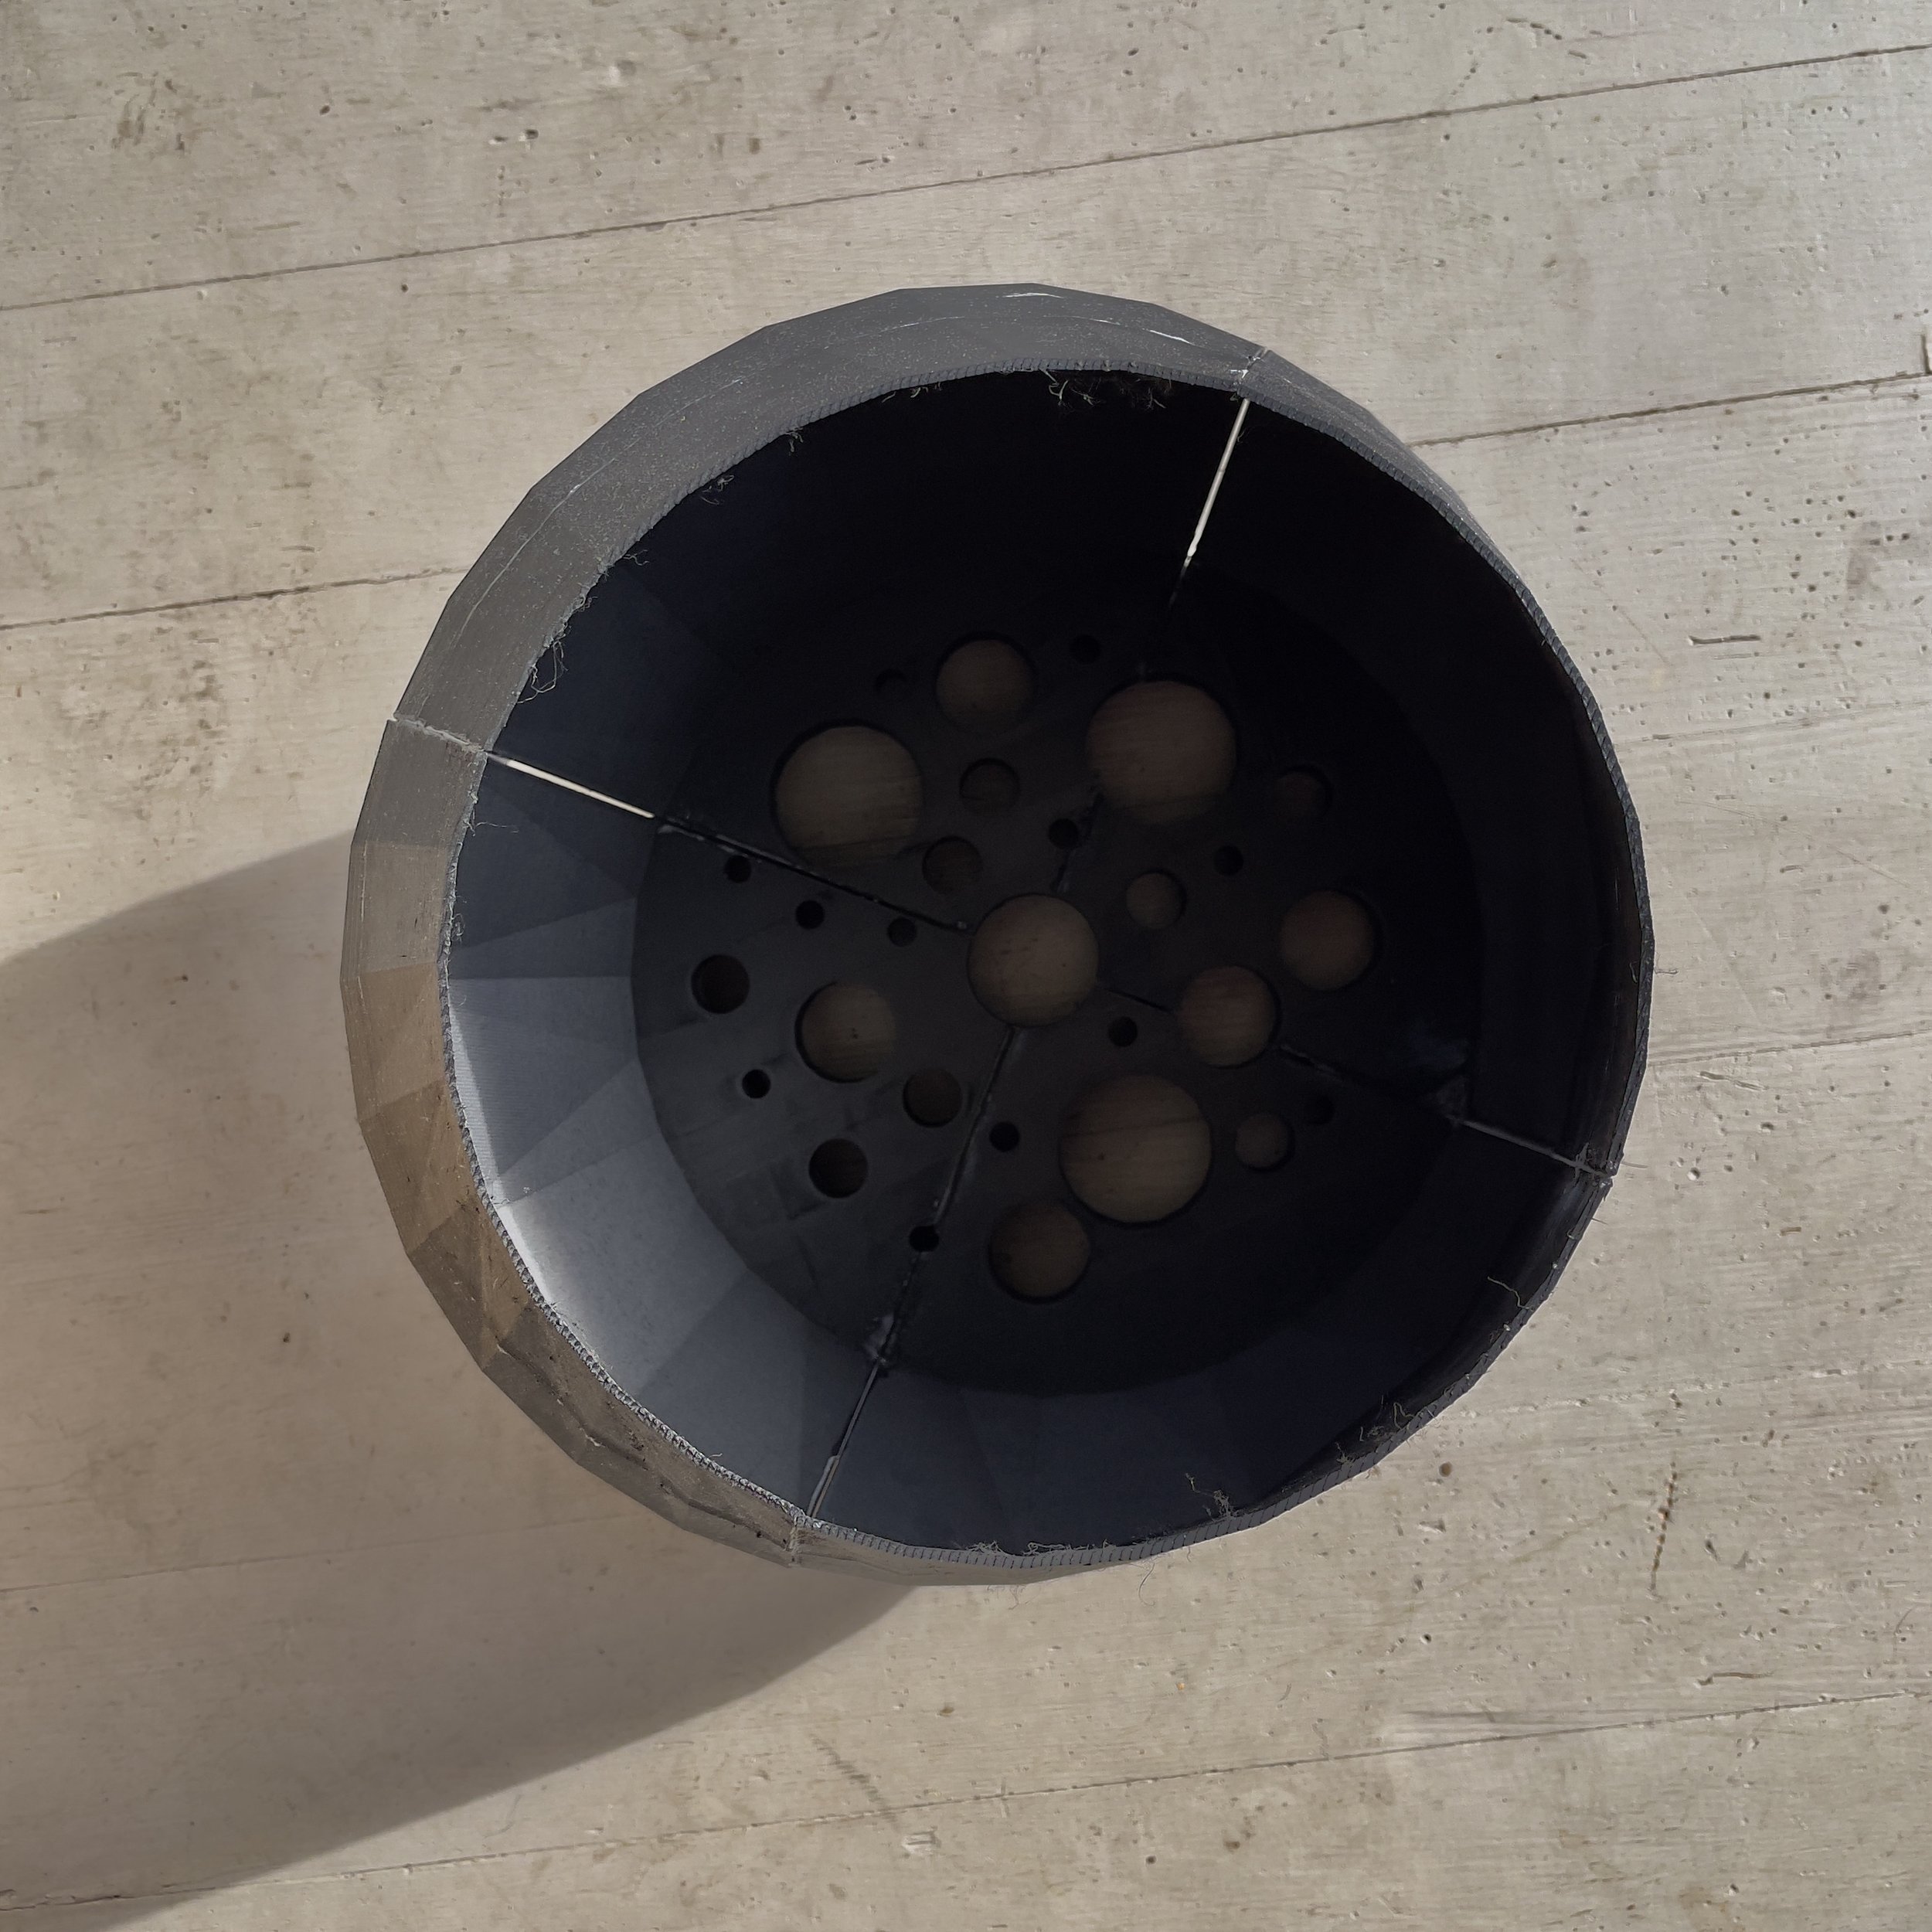
To be honest, I think this first initial design is pretty ugly. I think the lines don’t flow well together. The texture from the STL that I thought could contribute to the overall design, just ended up creating a pattern that didn’t exactly know what it was adding.
-
Due to this being the first print, I was less concerned about the ideal printing process and more concerned about just printing a product. That means that these pieces were not broken up thoughtfully; which created some complex joints to glue together and some confusing lines.
-
My initial thought was that I could use any material if I were to make it fairly thin as well as making it primarily hollow. As I learned in this model that its not the case.
The black filament did not allow any light to come through. I think in the future I will look at making or purchasing a transparent filament that has an infused color.
-
I think this was a good place to start. In essence it proved that the idea was viable, but with work.
Moving forward from this there were many improvements to make. The design needed a full rework, and the process of printing could’ve been done in a much better way.


The Infill Test
-
This projects purpose to see what infill combined the best texture, time, and light distribution.
In this process I used one model to test 4 different infills side by side. I did a 100% infill, 60% infill, 25% infill, and 5% infill.
The advantages of having less infill are that they take less time to print. They also use less filament. This over and entire shade creates a significant amount of overall savings.
The advantage to more infill is that it creates a stronger print. Having more layers connected means that if the piece was dropped then it would be more likely to survive.
-
As expected, the more infill in the piece the more light is diffused.
100%-
One thing I noticed was that it seemed to diffuse the light too much. I felt as though I was loosing too much light with how thick the piece was.
60%-
Seemed to be a better point for light diffusion. Light is diffused well but not too much. The light doesn’t seem to have much of a shape.
25%-
A little brighter, light still diffusing well. Pattern is showing more prominent. The light bulb does have more shape to it than it did in pervious versions.
5%-
Light still diffused decently. Bulb shape is very prominent. Pattern creates less light reflections than the 25%.
-
When comparing the different densities I noticed that the interior pattern can not only add a visual appeal, but contribute well to the light refraction.
Having the different shaped interior it allows light to bounce off more surfaces. This creates small dot of brightness that help spread more light into the room as well as creating an objectively more interesting pattern.
-
One variable that I have yet to test is the different patterns. The pattern used in these tests were the gyroid. But, other patterns are available and may provide different and possibly more interesting looks.
-
I think that ultimately choosing an infill is going to solely depend on the individual using the lamp.
For me, I really liked the 25%. I thought it looked the most interesting, as well as, creating my ideal amount of diffusion.
The Nozzle Test
-
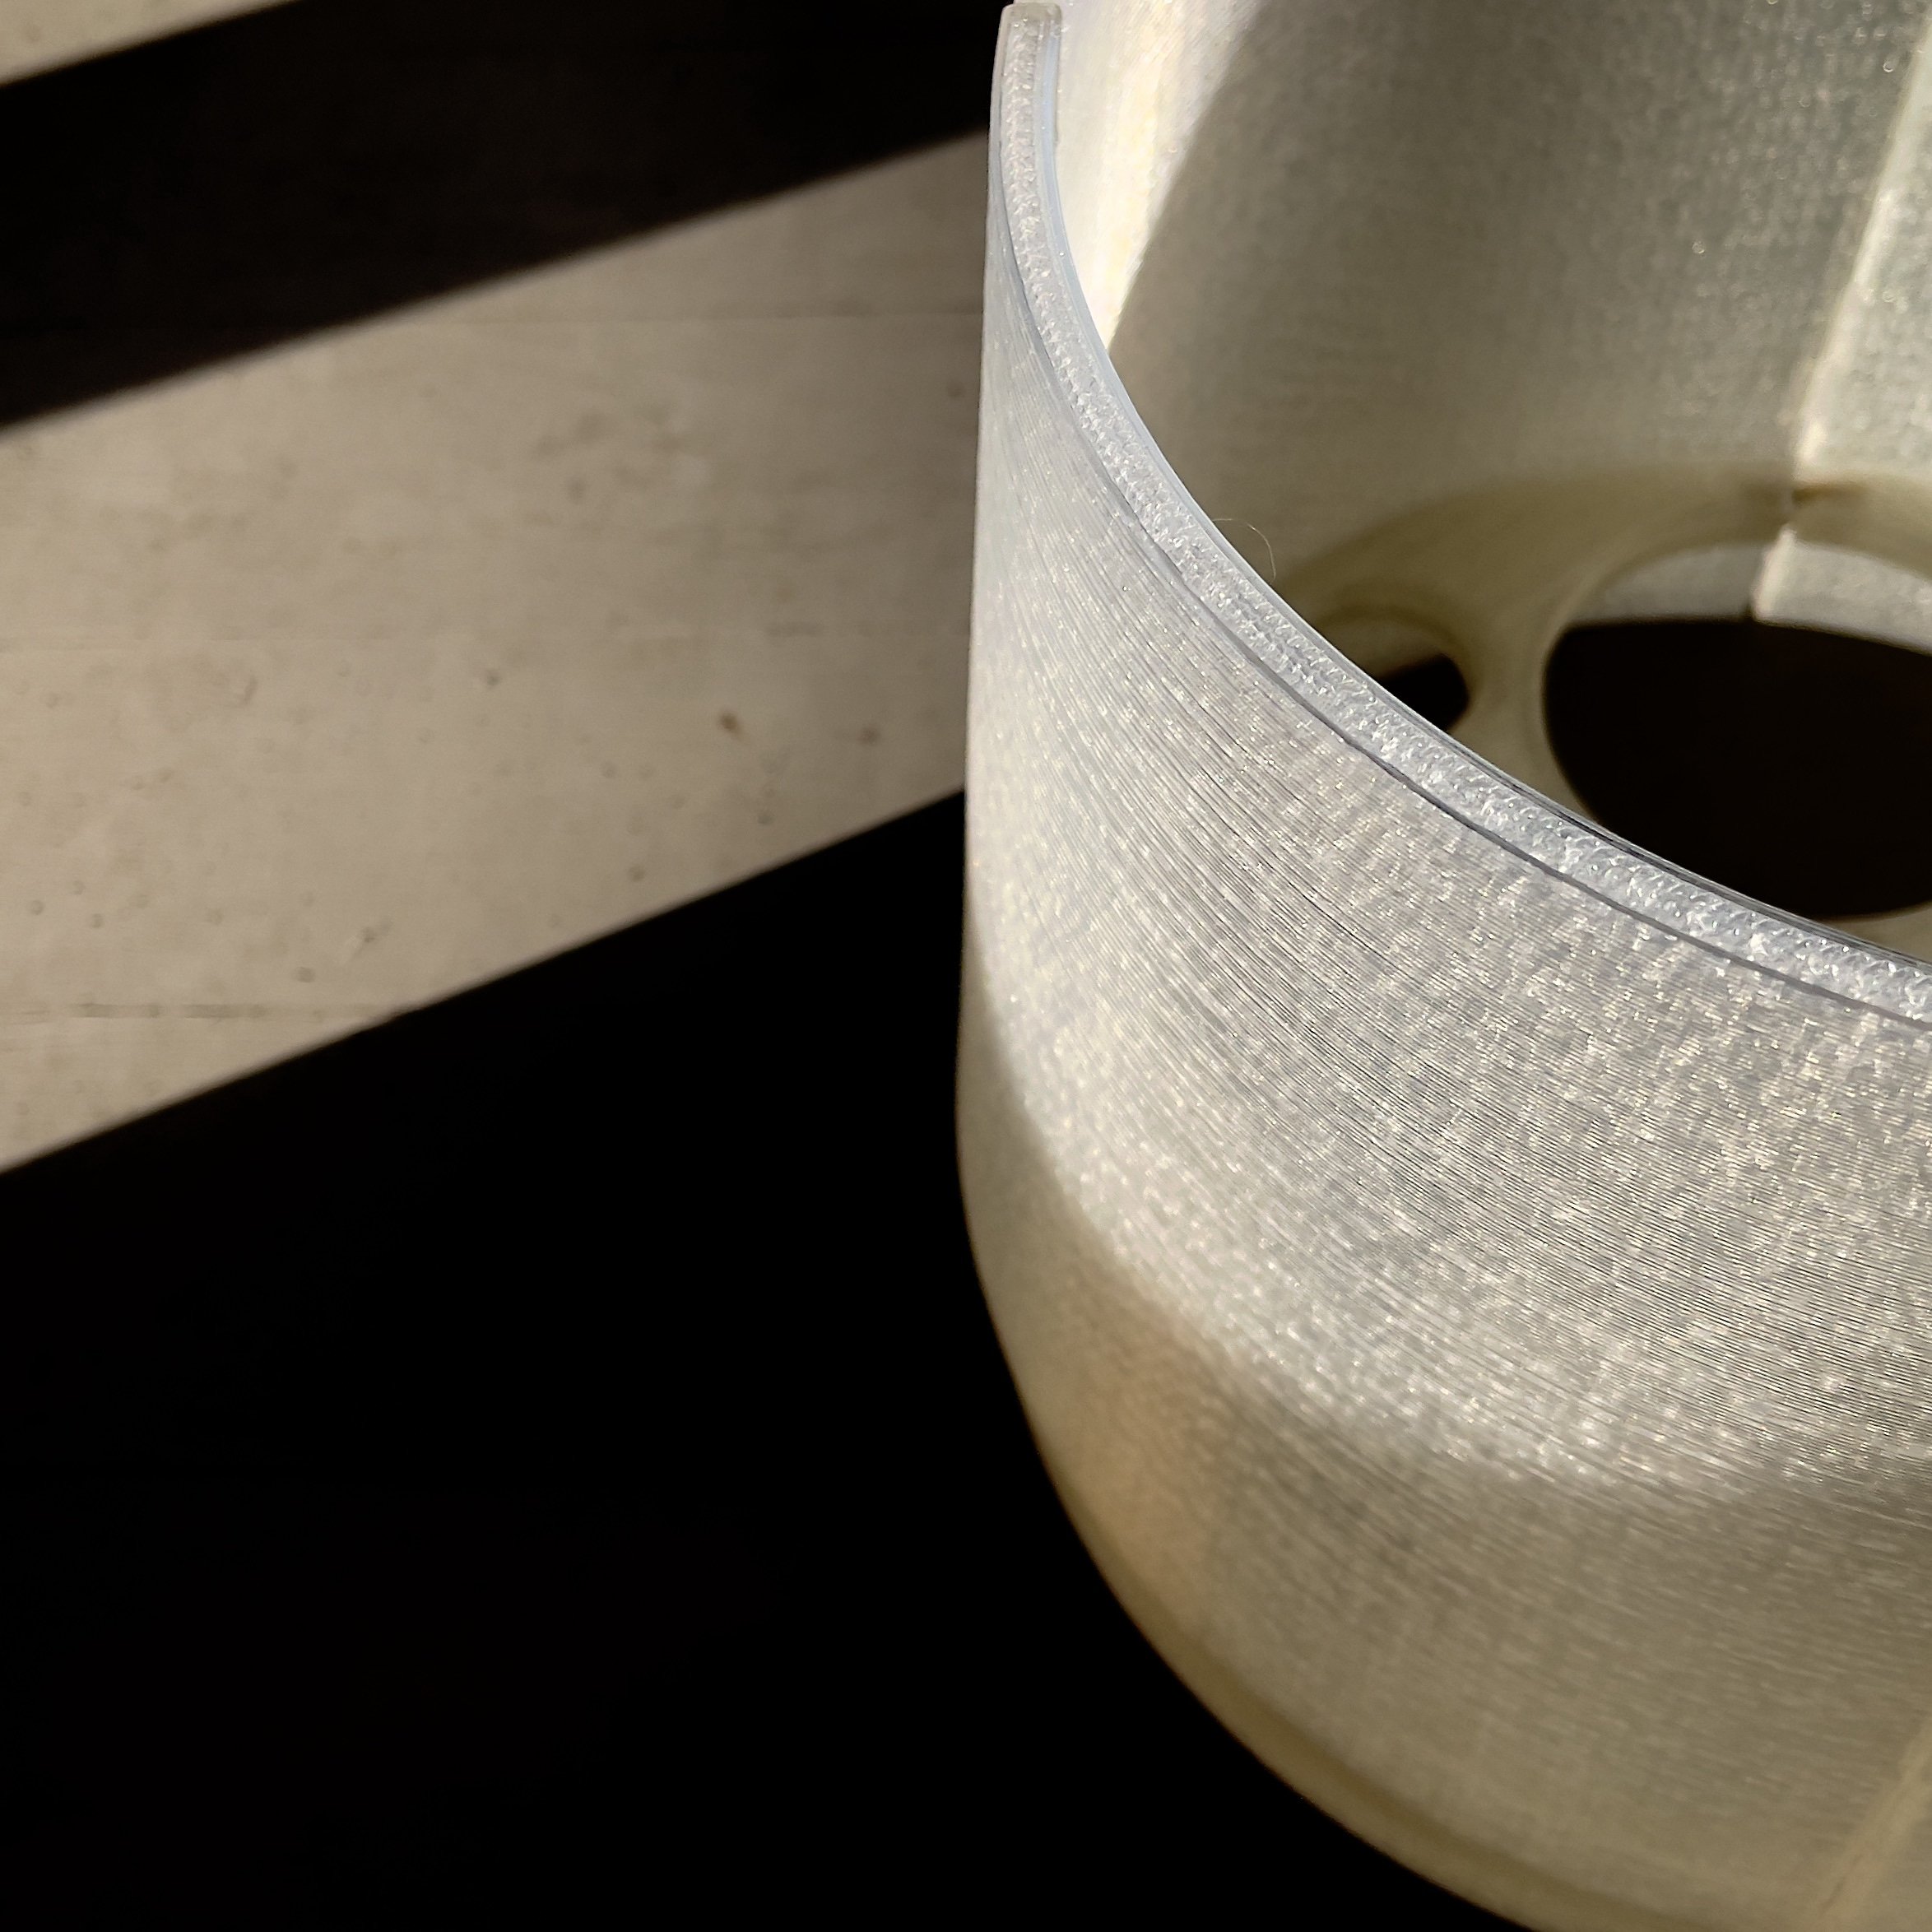
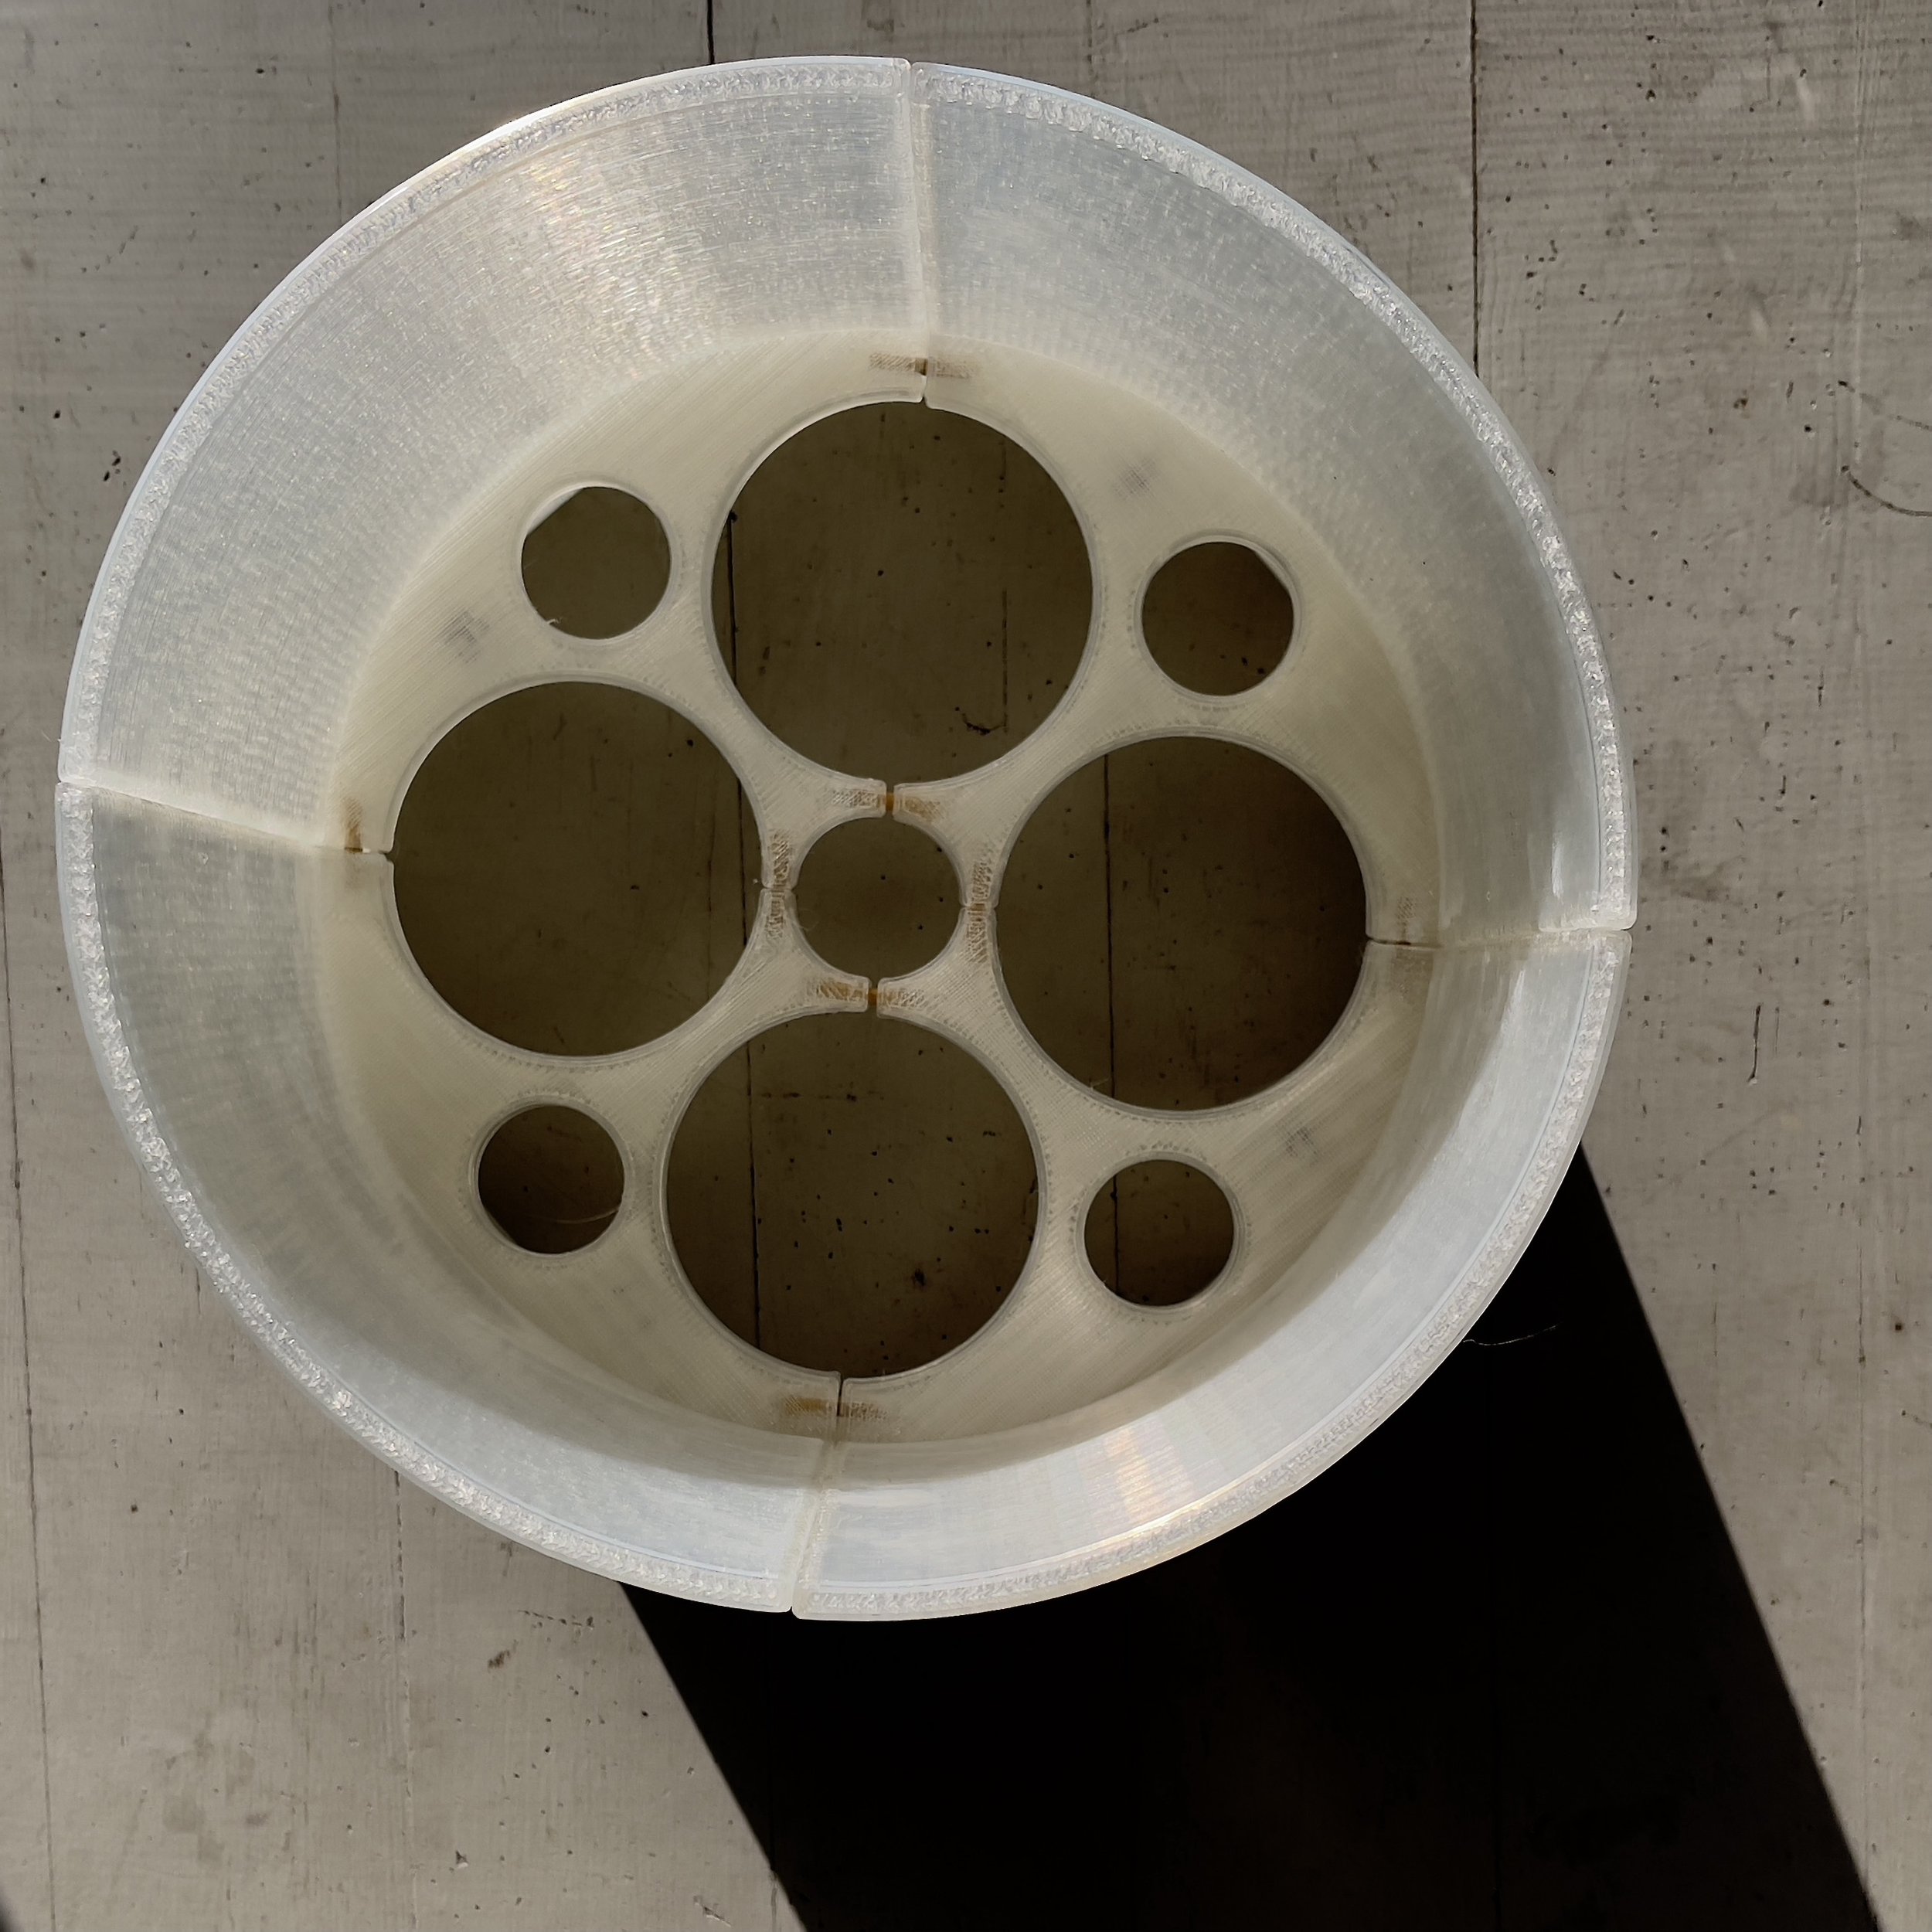
The point of this print was to test if a different nozzle size would be a good idea to make print times better, as well as, the quality of the prints and overall aesthetic of the piece.
I decided to print with a .8mm nozzle. I went with this nozzle because it doubled the size from the stock .4mm nozzle. I found that it did significantly decrease my overall project print times. This the overall time was cut to make printing these on a larger scale better optimized.
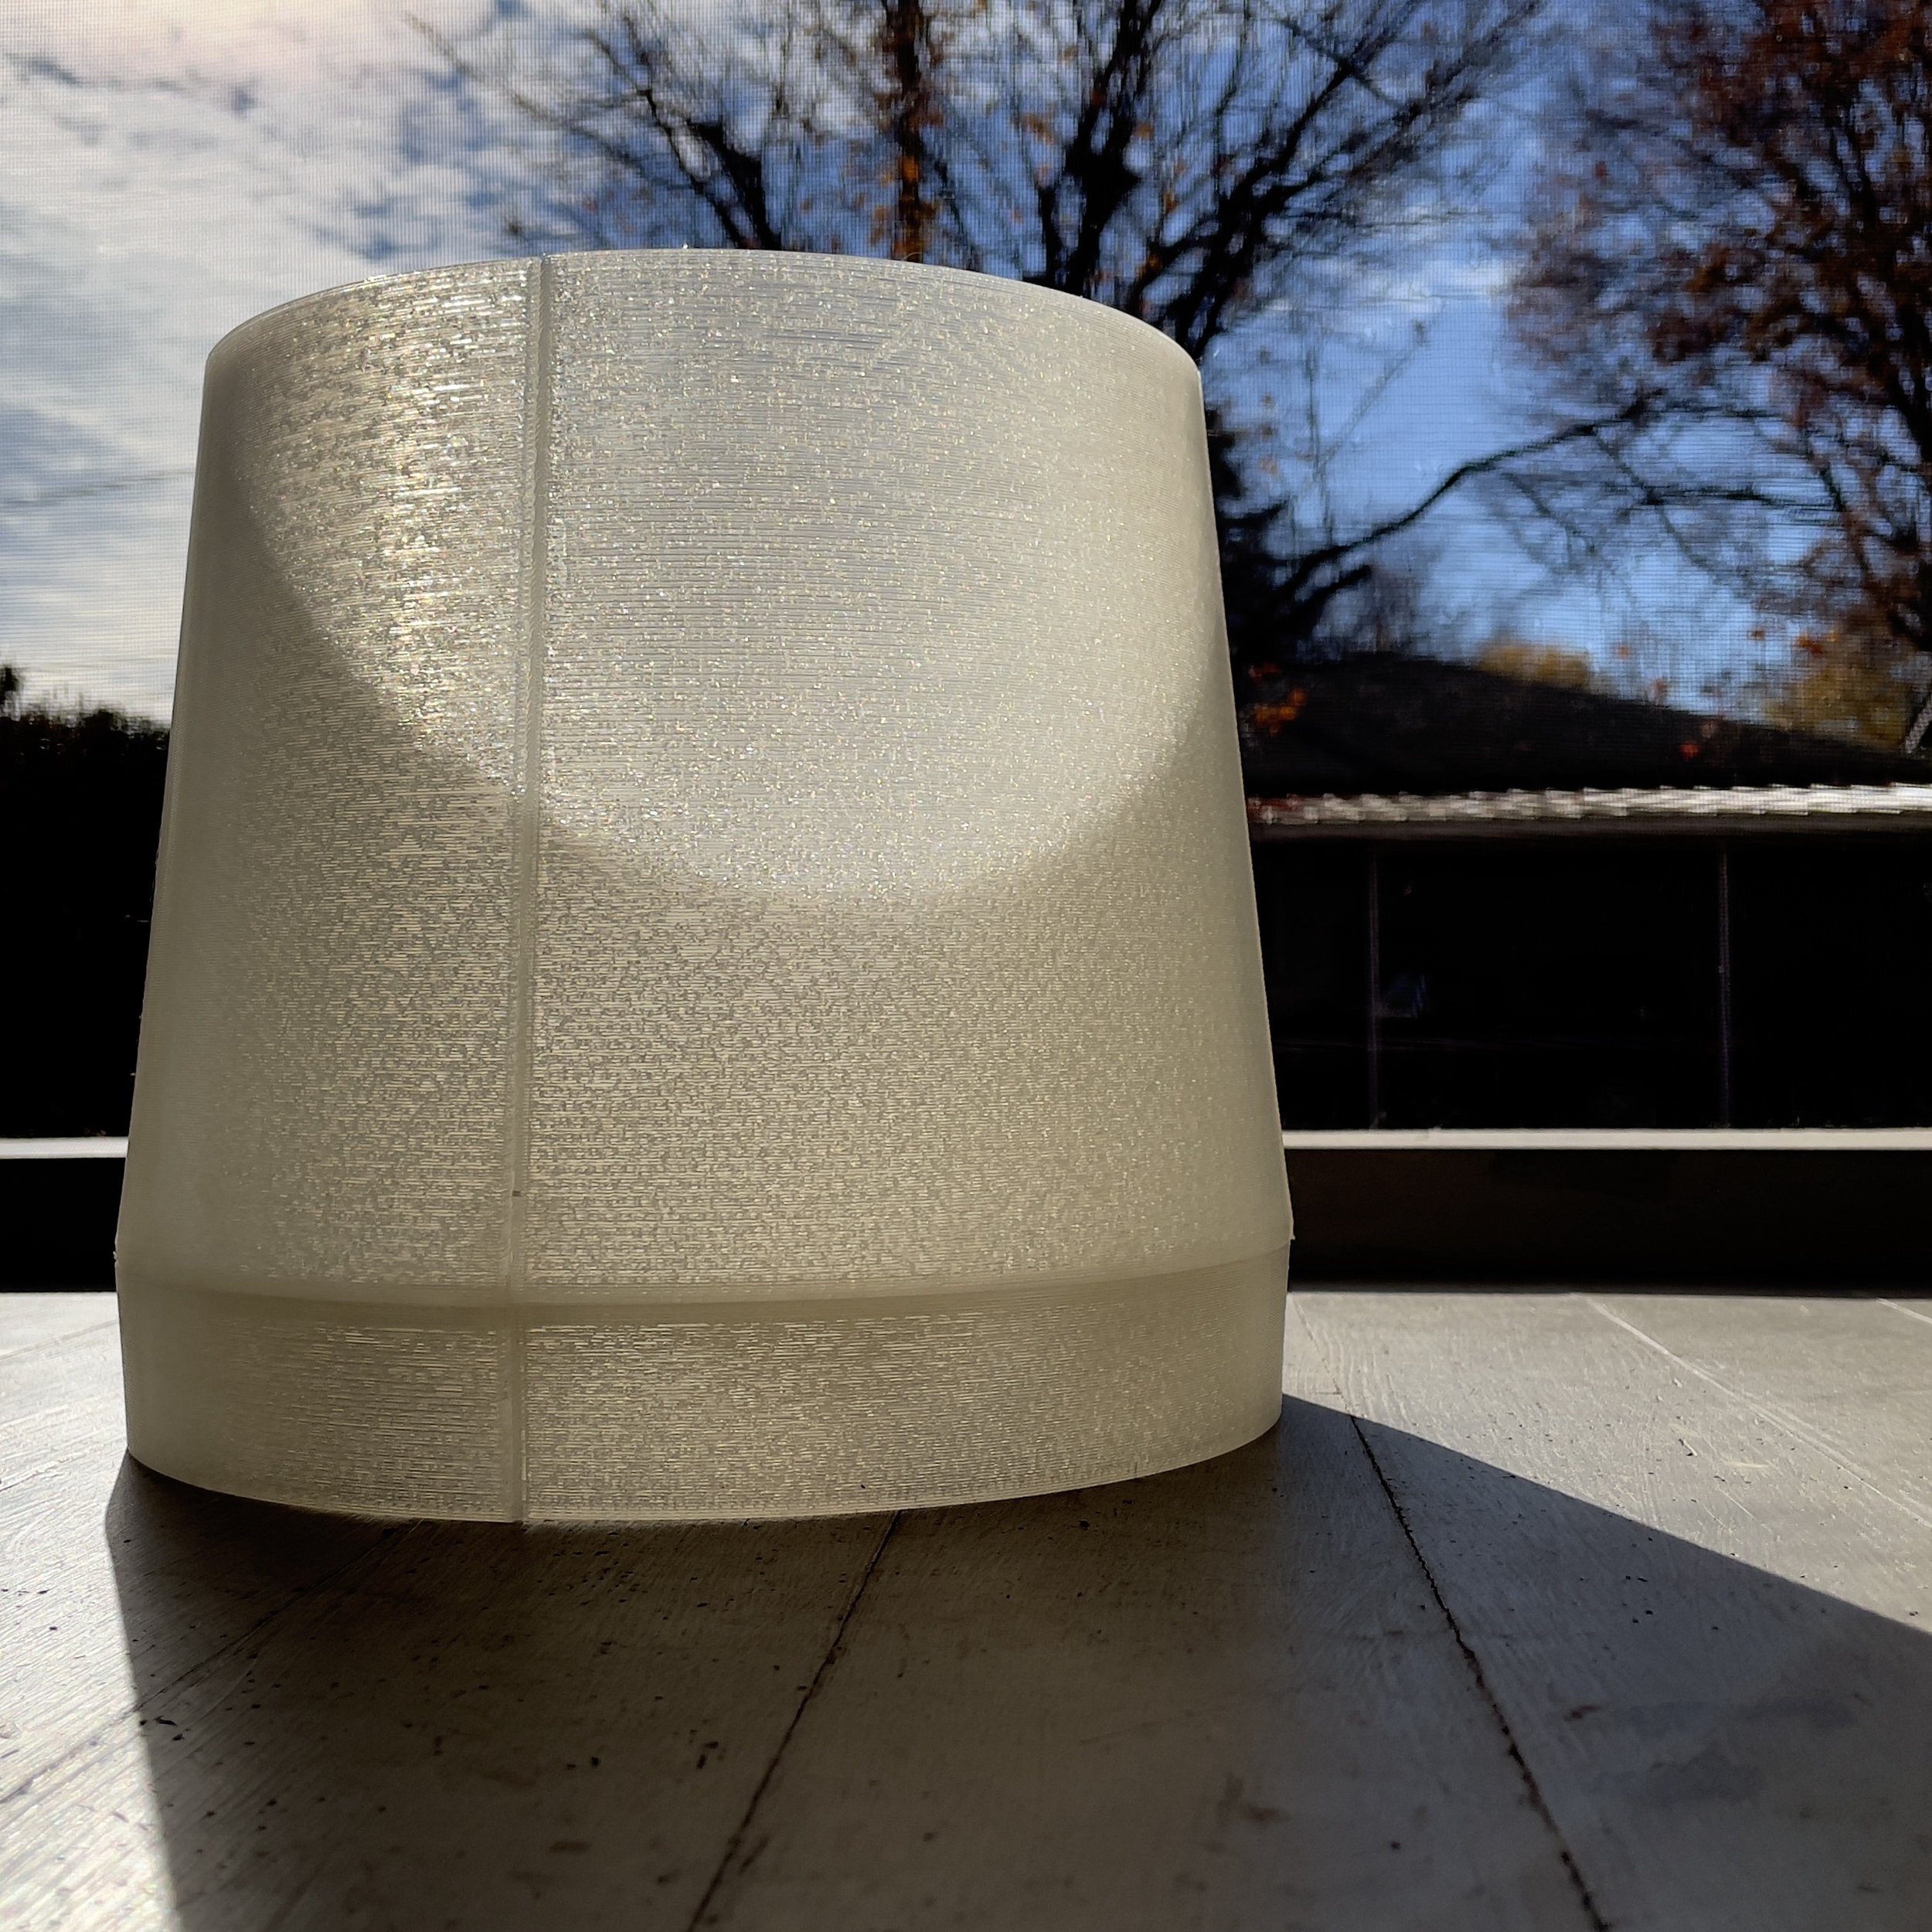
I also wanted to see how I felt about the overall look of the piece. This would be a purely subjective point. Yet, for me personally I really liked seeing the layers a little more. I felt that the exterior texture just complimented the interior infill. I also like seeing some of the lines that show off the process in which it was produced.
-
The larger nozzle size and the better gluing practices create a piece that is stronger than the pervious.
First off, the larger nozzle size creates layers that are thicker. So you end up getting a structure that consists of fewer thicker layers verse the pervious more frequent thinner layer. This creates better bonds and makes stronger layer connections.
I made two changes on this with the gluing practices. First off, I added dowel rods to add connective structure for the quadrants. I also used a glue brush to make sure there was a more consistent layer of glue among the surfaces. I also bound the pieces together better using clamps and rubber bands.
-
Although this look might not be for everyone, I am more than pleased with the results.
I feel that the overall design is simple, but classic feeling. I think the texture of the exterior layer height combined with the interior fill create an oddly nature feel to the product.
I think for the moment I will continue moving forward with this nozzle due to the time saving factors as well.
